Making Apple Juice with a Ninja Blender
I had no idea when I wrote a post about how to make juice with a Ninja Blender that it would be my most popular post on this blog.
But, it is.
The irony, of course, is I stated upfront that I am not really a juice person. Though, I should note, I am changing my mind on this after reading this month’s Virtual Book Club book called “Crazy Sexy Diet.”
Last week, a commenter asked specifically about making apple juice, as he has a boatload of apples he needs to juice. So, I set out to juice some apples and report back.
Topline: My initial reaction stands on this – if you juice a lot, or you have a large volume of items to juice, best to just get a juicer. But, if you juice every so often, or perhaps need juice for a recipe and don’t want a lot, the Ninja will deliver. Just keep in mind – it is a blender, not a juicer/extractor. This means you will pretty much always have to strain whatever juice you’re making to take out the pulp. Juicers do this step for you.
Making Apple Juice with a Ninja Blender
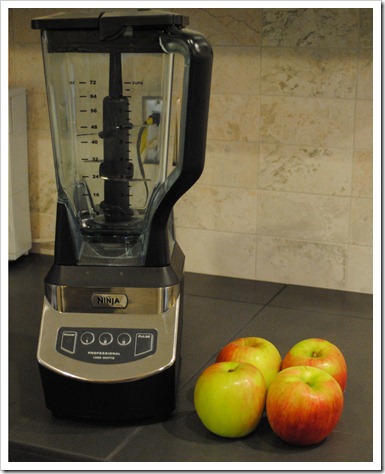
Step 1: Get your apples ready – blend no more than 5-6 at a time.
I had four apples on hand, so that’s what we’re working with here.
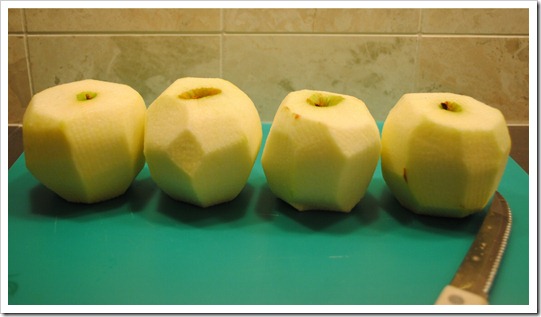
Step 2: Peel apples
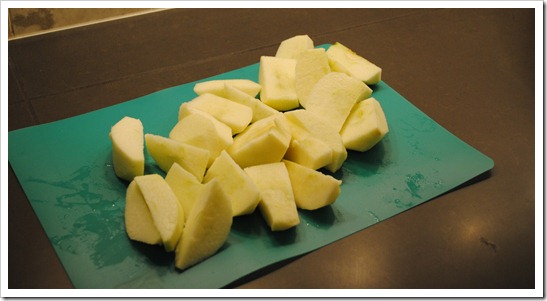
Step 3: Core apples – no need to chop aside from just getting them off the core. An apple corer would help here.
Step 4: Pay your assistant in apple peels. Your assistant may be like mine, and demand payment before the job is done. Your assistant also may walk around with his or her tongue out all the time. It’s so hard to find good help these days…
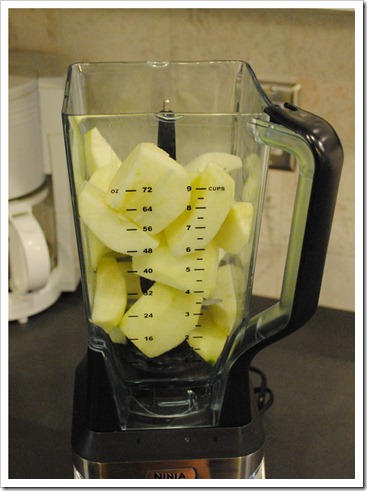
Step 5: Add apples to blender along with a small amount of water. I added 1/3 cup water for four apples and that seemed about right.
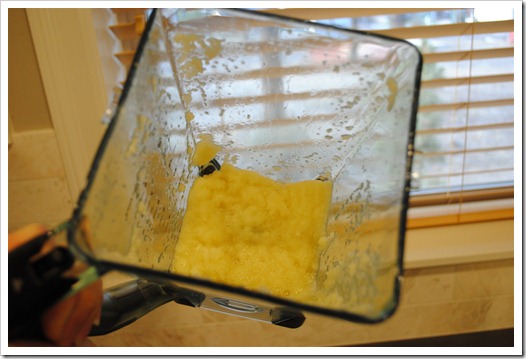
Step 6: Blend, stopping every so often to push down any bits that aren’t getting blended. I ended up having to push down the extra bits twice. I blended on 3 for a total of about one minute to get everything all mixed up as good as possible. Here is the result:
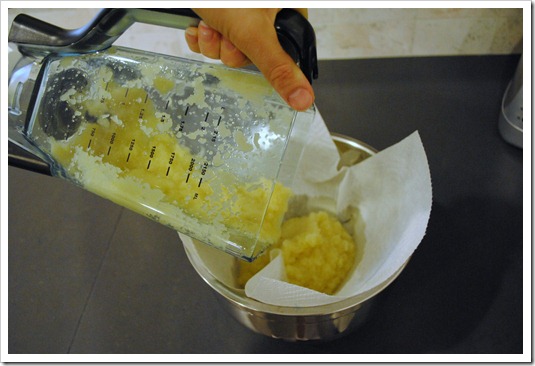
Step 7: Strain. This is where it would be great to have a sieve. In fact, I do not recommend doing this without a sieve. My sieve is in Seattle. My blender is in Bend. You can see the issue here! So, I had to do a poor man’s sieve of placing two-ply of paper towels in a colander. The objective here, of course, is to drain the juice and end up with dry pulp. You will need to push down with a spatula to do this. Alternatively, you could use a mesh bag that is common for straining nut milks, or even a paint straining bag (that has never been used for painting, of course).
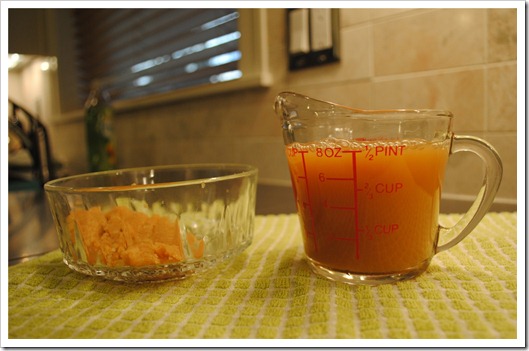
Step 8: Drink! I ended up with more than a cup of juice, but I tasted some and gave some to 2Chili to taste before taking this photo. The juice was up to the top of this measuring cup before our little taste test. The leftover pulp (in the bowl) was about 1/2 cup worth.
The verdict: Well, it tastes like apple juice. But, more of a “country style” apple juice because it isn’t all refined and sugary like store bought. It was really quite good, I thought. Worth the effort? Maybe, maybe not – that’s up to you to decide…

