Let’s Make Sprouts!
I don’t know why, but at some point in 2013, sprouts started disappearing from the shelves at grocery stores in Washington State. I can still find them at some markets, but for the most part, they’re hard to come by.
This of course, means I needed to get off my duff and figure out how to make my own sprouts. As it turns out, it’s super easy, and doesn’t take long (3-10 days, depending on the seed you’re trying to sprout).
Here’s a little tutorial based on my experience and reading on this topic. And, though it looks like a lot of stuff, this really isn’t hard, I promise! Total time invested was about 10-15 minutes spread out over a week. This would be a great project to do with kids to teach them about growing food!
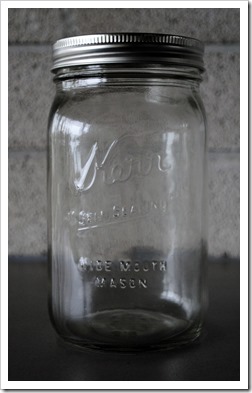
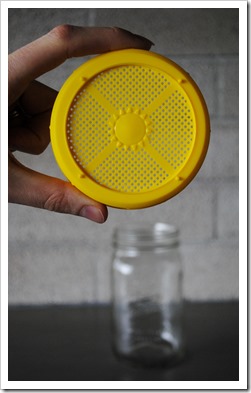
1) Obtain a wide-mouthed mason jar (or several), and a sprouting lid (or several). It’s hard to get mason jars in a package smaller than a dozen, so I picked this one up at Goodwill for $1.99. If you want to have a lot of sprouts going at one time, the dozen is definitely a lower cost per jar investment, but, I only bought 2 jars so I can have two batches going at once.
If you don’t want to buy a sprouting lid, you can simply stretch some cheesecloth or otherwise porous fabric like (clean) nylons over the top of the jar and secure it with a rubber band. No need to stress out about the jar or jar top – go with what you have easy access to.
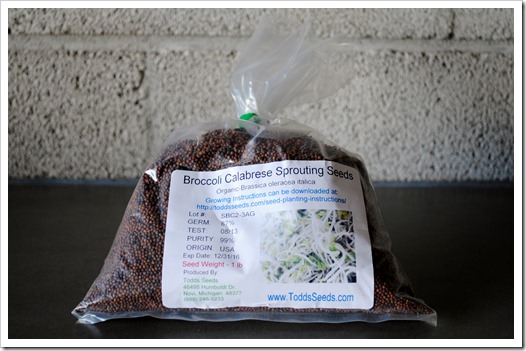
2) Obtain organic sprouting seeds of your choice. I’m fond of broccoli sprouts, but there is a wide variety of sprouting seeds available on Amazon. It’s important to choose organic seeds because organic seeds are required to be tested for E.coli. No one wants E.coli in their sprouts. No one.
A pound of sprout seeds will last you a long, long time, as you only use them in small proportions. You can store the seeds in their original container, or, store in jar (and it’s likely you have a few handy if you bought a 12-pack!).
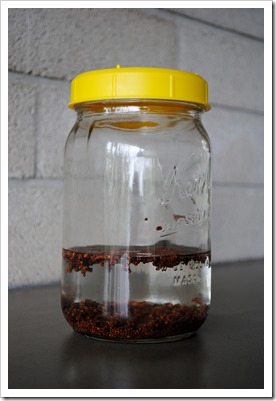
3) Soak the seeds. Put 1-2 tablespoon seeds in your clean and dry mason jar. If your jar is a pint, only use 1 tablespoon. If it’s a quart, you can go with 2 tablespoons. Add enough water to cover the seeds, cover the jar with the sprouting lid, and set aside outside of direct sunlight for 8-10 hours.
4) Drain. Drain out the water, keeping the seeds inside the jar. Then, rinse the seeds with clean water, drain again, and set aside, outside of sunlight, and ideally propped up at an angle on a dishtowel so any water can drain out. The seeds should be moist, but not submerged in water.
The ideal temperature for sprouting is 68-70 degrees F, so, basically, the temperature of your living environment.
5) Rinse twice a day. In the morning and evening, rinse the seeds, draining out the rinse water, and setting aside, just like you did after draining, until the sprouts have shed their hulls.
Day 1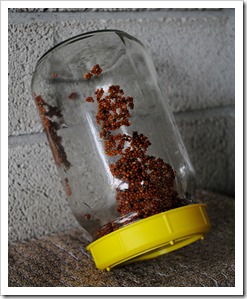 | Day 2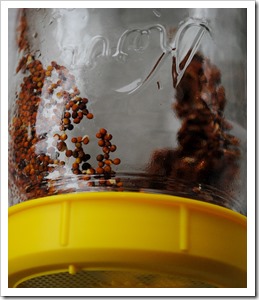 |
Day 3 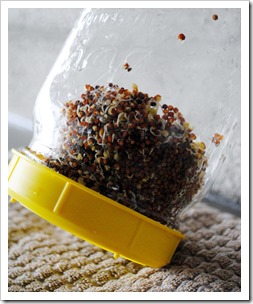 | Day 4 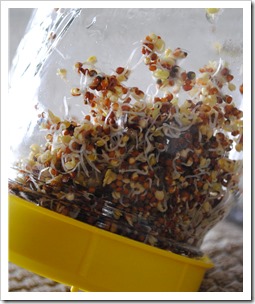 |
Day 5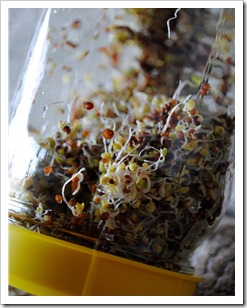 |
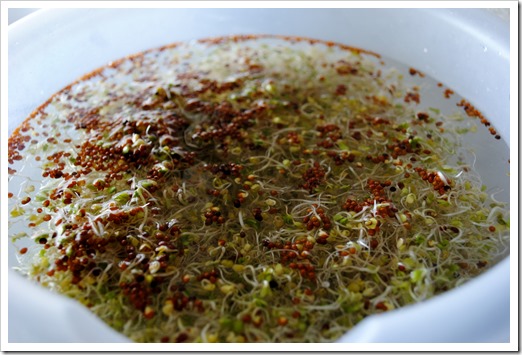
6) Remove hulls. Depending on your seeds, around day 5 or 6, you’ll want to separate the hulls by placing in a bowl and filling with cool water. Most of the hulls will float to the top or settle at the bottom and you can easily remove most of them. I did this on day 6.
7) Turn them green. Once the hulls are removed, put the sprouts back in the jar and place in indirect sunlight for the chlorophyll to activate and turn green, which takes about a day.
Day 6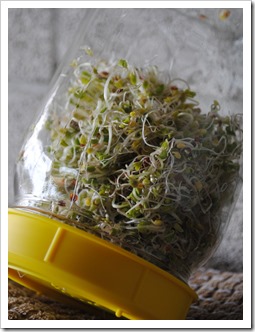 | Day 7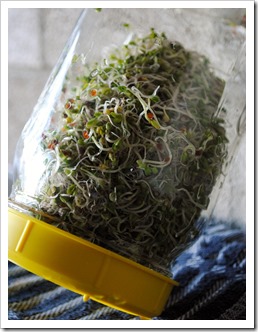 |
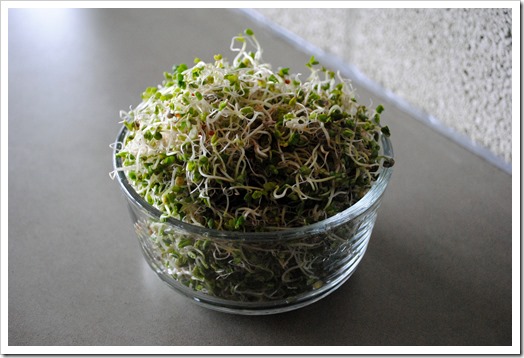
Day 8 – Done & Ready to Eat!
2 tablespoons of seeds yields about 2 cups of sprouts.
8) Storage. Once the sprouts are green, rinse and drain them one more time, and store in an airtight container in the refrigerator, for up to 5 days.
Happy sprouting!

