How to Grind Whole Coffee Beans in a Ninja Blender
You know the old saying, “Necessity is the mother of all invention?” It is certainly true.
I have been “off coffee” for almost a year now, which is incredible since I live in the undisputable coffee capital of this country. But, I kicked the habit when I was trying to heal my thyroid and very rarely have real coffee these days. I genuinely like the taste of brewed coffee though, so I do have decaf every so often.
However, I raced the Seafair Triathlon over the weekend, and, it’s a pretty well known fact that if you’ve been off caffeine and then re-introduce it, say on race day, you can experience an ergogenic effect. Translation: It can make you a little bit faster with a little more endurance. And, let’s face it, I need all the help I can get!
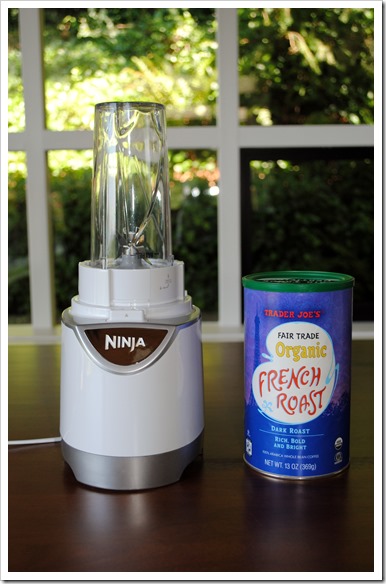
My coffee vacation has been so long, in fact, that I completely forgot that Trader Joe’s sells whole beans, and you need to grind them before you leave the store. Whoops. I bought a can of organic French Roast – I prefer dark coffee – and realized when I got home that I had no idea where my coffee grinder is. It’s probably packed away in some random box in storage with most of our stuff.
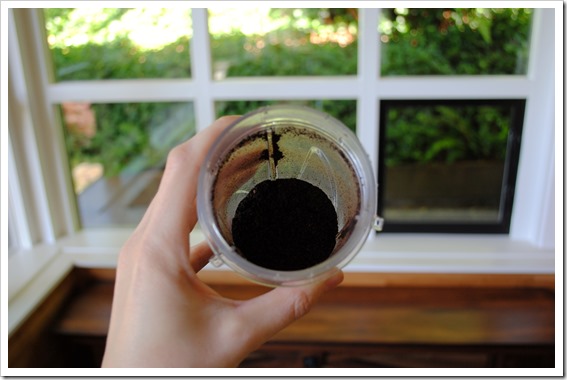
Anyway, what was I to do with a can of whole coffee beans the day before my race? A light bulb moment hit – I own the mother of all blenders (well, as you know, I own several varieties of said blender.) Why not just grind it in a single serve cup?
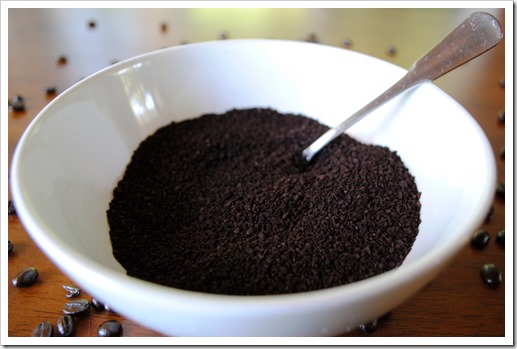
10 pulses later, voila, usable ground coffee.
I’ll show you how to do this below, but before I get to the instructional, I just remembered an amusing story. A few years ago, my mother was in town from Texas. I walked into the kitchen one morning to see her adding water to a cup of my freshly brewed coffee.
“What are you doing?” I inquired.
“Your coffee is SO strong!” she replied.
And that, friends, is exactly how I like it – strong. In the south, we’d call my preferred brew “motor oil.” In the northwest, we call it “perfect.”
Grinding Coffee in the Ninja Blender
This is really quite easy, but there are a few top-line notes, because I know I am going to get these questions:
- Any Ninja Blender will work, but if you have a single serve cup, that is preferable as it will give you a finer grind – and you will be able to control the end result much more. Meaning, if you like a super fine grind, you can get that, or, if you want a coarse grind, you can get that as well.
- If you are using a single serve cup, don’t add more than about 3/4 to 1 cup of beans at a time, as too many beans will give you different size granules due to the volume in the cup.
- If you’re using a standard pitcher, you should add at least 1 cup, as you need the volume to blend, and instead of pulsing, you’ll steady state blend on “1” for about 20-30 seconds or until you get a consistency you like/your coffee pot requires.
With that said, here you go:
1) Obtain your preferred coffee and prepare your blender. I used the Ninja Pulse for this because it was handy. As I noted above, any Ninja will work, just take the precautions I called out depending on your selection of single serve cup or pitcher.
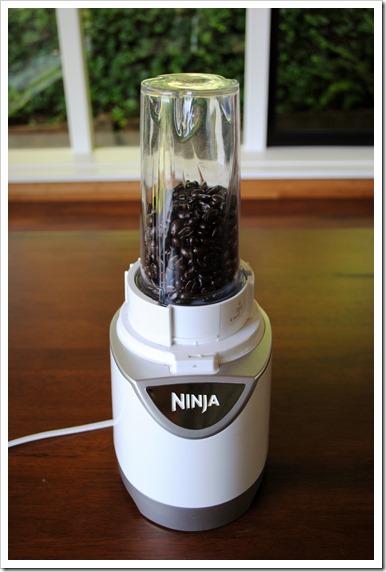
2) Fill the container based on the type you’re using. I filled my single serve cup with about 3/4 a cup of beans.
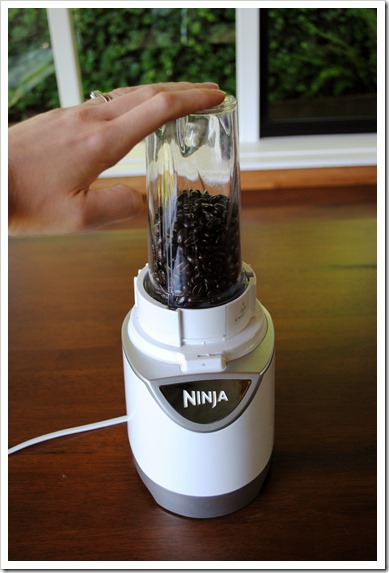
3) For a single serve cup, pulse 8-12 times, or until you get the coarseness or fineness of grind you prefer.
4) Go brew your coffee already!
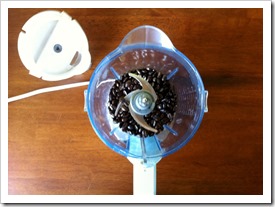
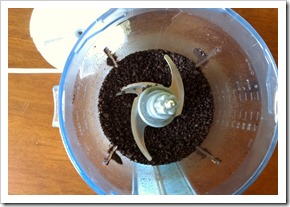
For comparison’s sake, here is a before and after when I used the 40 ounce pitcher. See, still works – just perhaps not as fine in the end. This was after about 20 seconds of continuous blending – you could keep blending to make it smoother, but it won’t get as smooth as if you had used a single serve up.
 |  |
The bottom line is you can turn whole coffee beans into ground coffee with any Ninja Blender, and it is a fast process.
Cheers!

