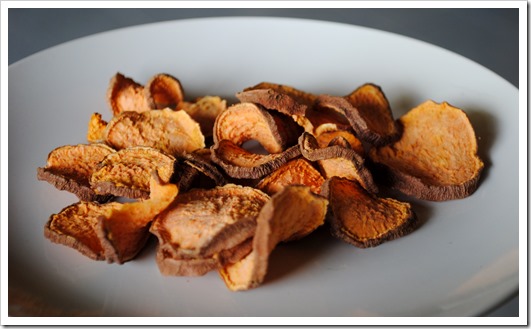
Simple Snacks: DIY Sweet Potato Chips
It’s no secret that sweet potatoes are a staple in our house. I put them in smoothies, pancakes, stir-fry creations, and, munch them in place of store-bought potato chips. I’m a sweet potato-aholic!
Ever since we got a dehydrator, I have been trying out various things, and, my favorite have to be sweet potato chips. They hit the spot when you want something crunchy, but don’t have the guilt of store-bought chips or crackers.
Our dog Pipa absolutely loves anything crunchy: apple, carrot, sweet potato, you name it. So, we give her these dried sweet potato chips as a treat instead of store-bought treats. She doesn’t know the difference and we feel good about feeding her real food treats.
I can’t really call this a “recipe” per se – it involves just a few simple steps:
- Wash your sweet potatoes and cut off any bad sections. I usually cut off the tip and tail as well.
- Slice fairly thickly, either with a knife or mandolin – 1/8-1/4 inch. The thickness will dictate how long you need to dry them. If you’re using a mandolin, you may not be able to get them super thick
- Dry for 8-10 hours or overnight. I usually cut them on the thicker side, start the drying at bedtime, and they’re done when I wake up. They will get crunchier as they continue to dry outside of the dehydrator, so I just make sure they’re all crinkled up, turn off the power, and let them sit another hour or so to cool off before I package them up.
- Optional: Pour melted coconut oil and salt to taste over the chips in a heat-resistant , sealable container, shake, and dehydrate one more hour or let air dry until the oil has dried.
I usually make two batches on the weekend: One with oil and salt for me, one au naturale for the dog. We’re all happy that way!
If you don’t have a dehydrator, you can achieve the same results in the oven. Here is an instructional I found that talks about how to do this in an oven.


