Non-Dairy Orange Sherbet Recipe, and a Look Behind the Scenes at TKT
Today’s recipe comes from the request of reader Marla, who was looking for an orange sherbet recipe to make in her Ninja Blender. I have to admit, I’m excited about this one!
I love sherbet. It takes me back to being a kid, when my brother and I spent the summers on the South Texas coast with our grandparents. My grandma was very accommodating (isn’t that a grandma rule?), and would let us pick out a dessert that we wanted. If it wasn’t bubblegum ice cream (yuck, what was I thinking?), I would pick a multi-flavored orange-raspberry-lime sherbet. Of course, that sherbet was full of junk and artificial colors, but what kid cares about that? I certainly did not. It was hot and fake fruit sherbet tasted good.
Today, I am happy to share with you a totally natural, DIY non-dairy orange sherbet that you can make in your Ninja Blender. If you don’t have a Ninja Blender, or other high-speed type blender like a Blendtec, I feel like you could do this in a food processor (but not a standard blender). Since we are currently remodeling and I have limited space, I made this with my Ninja Pulse and it worked just fine, though it was somewhat at its limit.
For this recipe, you’ll want to prepare your oranges the day before so they have time to freeze overnight. I much prefer to use frozen items in the Ninja Blender because it does really well with frozen foods, and it blends them smoother than if you were to add room temperature fruits and ice.
To prepare the oranges, just peel them and get off as much of the pith as you can, separate them into segments, and then freeze them in an airtight container. Don’t worry too much about them sticking together, they are easy to separate when you go to blend – you also don’t need to have them totally separated. Chunks of 2-3 wedges at a time are just fine.
Please excuse my very utilitarian photos today. As you’ll see later on down, my kitchen and kitchen accessories are very…limited…right now due to our ongoing remodel.
Makes: 2 Servings
Ingredients:
- 1 cup coconut milk beverage (or, other thick milk. Don’t use almond milk for this, but, soy, 2% dairy, or even hemp would work)
- 2 frozen navel oranges (peeled and separated before you freeze them overnight)
- 2 tablespoons to 1/4 cup sweetener – I used 2T unrefined coconut sugar, but use what you are comfortable with. Sweetness is a personal choice. I recommend starting with only 2T and see if you need to add
- 1 tablespoon lemon juice (juice from one lemon)
- Optional: 1/2 teaspoon pure vanilla extract
Best Jar Choice:
- Ninja Pulse: 40 ounce bowl with standard blade
- Ninja Professional Blender: 72 ounce jar with standard blade
- Ninja Kitchen System: You could do this in either the 72 ounce jar or the 40 ounce food processor jar, with standard blade
- Ninja Mega Kitchen System: Same as above: You could do this in either the 72 ounce jar or the 64 ounce food processor jar, with standard blade
Method:
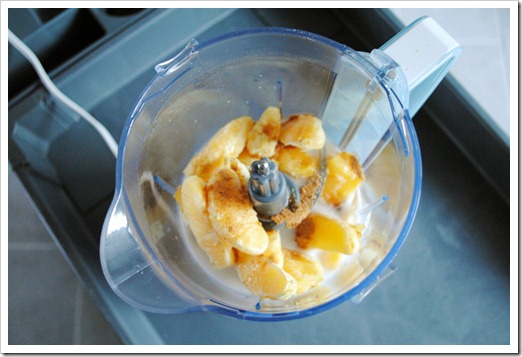
1. Add all ingredients in the order listed into the blender jar
2. Pulse 4-5 times to combine and begin the blending.
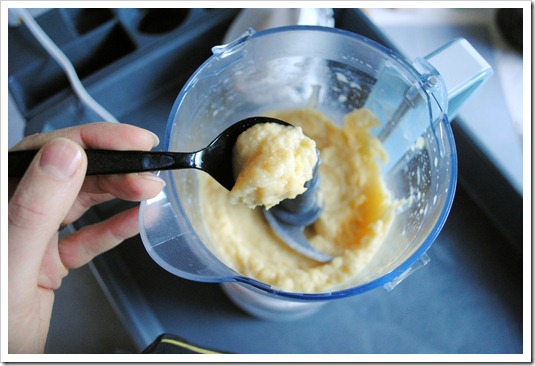
If you have a Ninja Pulse, continue rapid pulsing until the sherbet comes together as soft serve. If you have any other Ninja Professional Blender (KS, or Mega KS), you can steady state blend on “1” until the soft serve forms.
I found that the load was just slightly too much for the Pulse to steady state blend right away, but I was able to pulse the sherbet together in about 20-25 pulses (not long).
You can blend this to a smoothness you like – I left a bit of pulp because I like pulp, but this is up to you.
3. Eat immediately, or freeze for up to 4 hours to create a harder consistency. For what it’s worth, freezing much longer than that will not have beneficial effects!
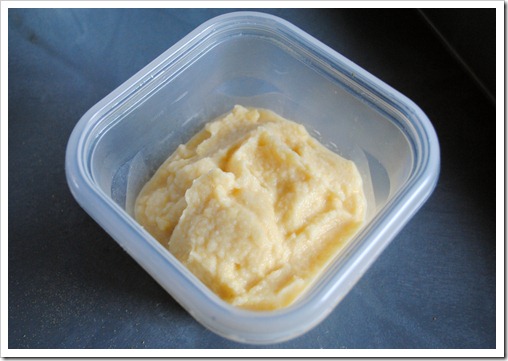
While this isn’t the bright-orange sherbet you may be accustomed to, it is tasty (even passes the 2Chili test) and so much better for you than anything with artificial colors or preservatives.
Nutritional Breakdown:
Made with coconut milk and 2 tablespoons coconut sugar.
 |  |
Behind the Scenes
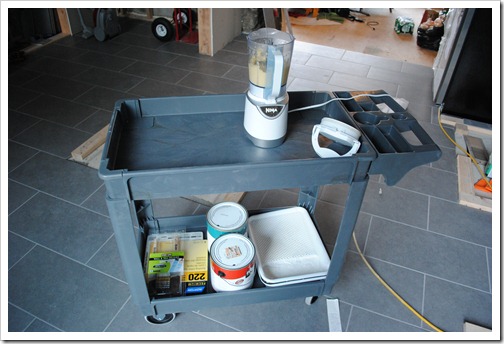
I was kind of amused when I was taking pictures of this recipe, moving boards and various construction items out of the way. I thought I would share with you what my “kitchen” looks like right now.
This is technically where the kitchen will be, but it is very much not a kitchen right now. We are making progress, and are very close to finishing our laundry room, which will double as a temporary kitchen and provide me with the ability to actually cook again. Meantime, this little rolling cart stood in place of a true counter so I could make this sherbet. Of course it has paint supplies on the bottom, as I am the resident painter.
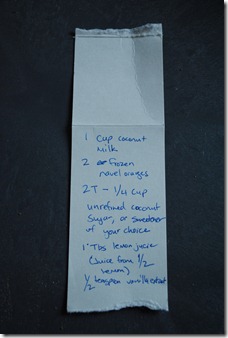
And, in case you’re curious what I do when I’m thinking of recipes, here is the actual slip of paper I wrote this one down on. We work with what we have around these parts. Hah! I changed the recipe slightly when I made it, as I actually used the juice from a whole lemon, not just 1/2. On-the-fly changes, ya see.
 |  |
Happy early New Year! Be safe, have fun!

