A Tour of Our Laundry Room
It’s been a long time since we’ve been in this place. A place where there is only one tranquil room amidst a sea of chaos. A place where we’ve made huge progress, but still have a ginormous mountain to climb. A place called “early in the remodel.”
2Chili and I have been married 10 years, and we have been in the middle of a remodel for the majority of that time. They say if you want to test the strength of your relationship, build a house. And, that is true. They don’t say “Fully gut three different houses, and heavily customize two others.” We are nuts. But, thankfully, we not only agree on most design things, we work (fairly) well together.
The last time we only had one finished room in the house, it was 2007, and it was also a laundry room. The time before that, you guessed it, a laundry room. We typically start our remodels with the laundry room because it is a fairly complex, but small, room. It lets us test things out, work out the kinks, and it also sets the design tone for the rest of the house.
So, with all that build up over with, do you want to see this laundry room?
You do? Great, because I’m going to show it to you!
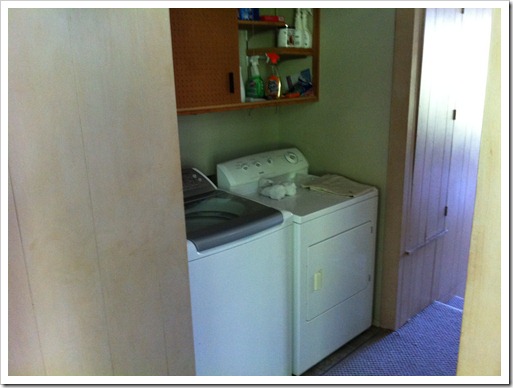
Before: Ew. Truly, this was a niche in a hallway, and it was gross. No, it wasn’t just gross, it was totally disgusting, but I won’t get into the gory details for you. I can still conjure the smell of what this particular area smelled like when we moved in if I focus – and probably always will be able to, it was that distinct. This house was built in 1960, so, it was fairly progressive to have a dedicated laundry space inside the house. Alas, it is not 1960 anymore, so out it all went.
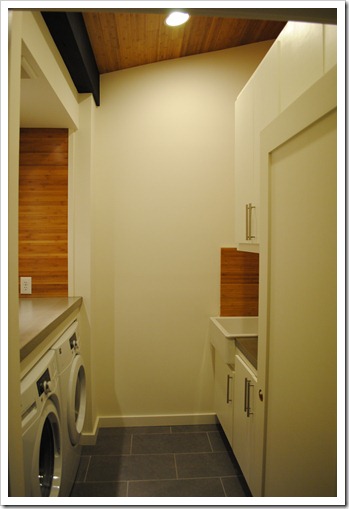
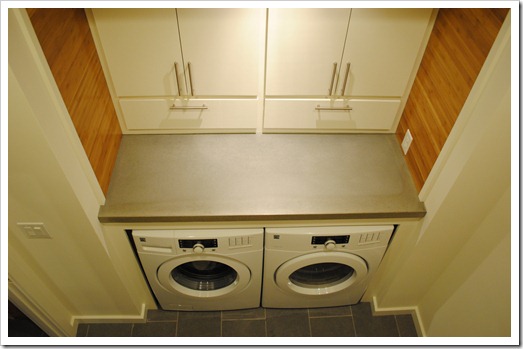
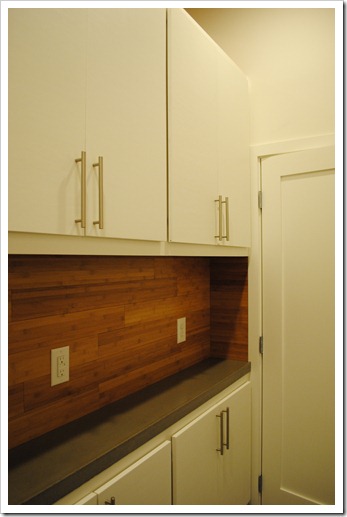
After: We took away the hallway and made a dedicated room with a door, plenty of cabinets and counter space, and a farm edge sink. There is also a transom window at the top, which you can’t see, but which provides some natural light into an otherwise interior room. You may notice we still need a lever on the door, but rest assure it is purchased and just awaiting install…
We poured the concrete counters ourselves, and patiently waited for 14 days to determine if we’d done a good job or not. Talk about nerve-wracking! After a 3-step sealing/waxing/polishing process to impart a real depth, I am really thrilled with them!
2Chili is quite the carpenter and built all the cabinets and cabinet doors. Let me tell you, this skill has saved us thousands upon thousands of dollars over the years. We reckon we spent about $500 all in for all the cabinets and cabinet doors in this room, including paint and door hardware.
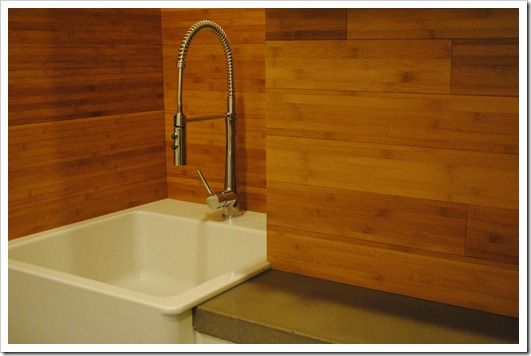
This sink is actually a kitchen sink we found at IKEA. I don’t really like those plastic laundry room sinks, but this farm edge sink is big and deep – perfect for our temporary kitchen, and will serve us well for utility purposes as well.
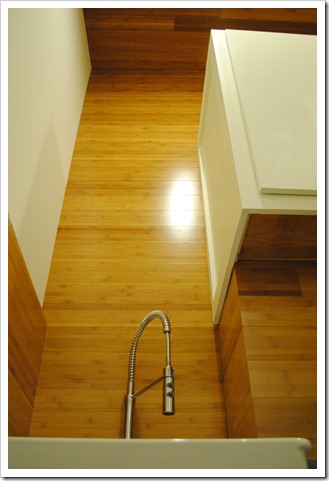
The ceiling is vaulted – something that was original to the house – and we covered it in bamboo, which will be a trend throughout the house.
We maximized every square inch of space in this room, and I’m so excited to have a place to store kitchen stuff, food, utensils, you name it. Thanks to a double burner and toaster oven, we are back to cooking again at the Test Kitchen, which is a very exciting thing!
I hope you enjoyed this look behind the scenes of our little project. We are going to take some time to figure out our next steps, and I’m sure in a few months I’ll have another room to share with you…and so it will go for the foreseeable future.
Thanks for reading!

